How do you print on t-shirts with foil?
Laken February 24, 2023 0How do you print on t-shirts with foil? BulkApparel is here to guide you! Follow these steps and tips for the best quality foil printed shirts.
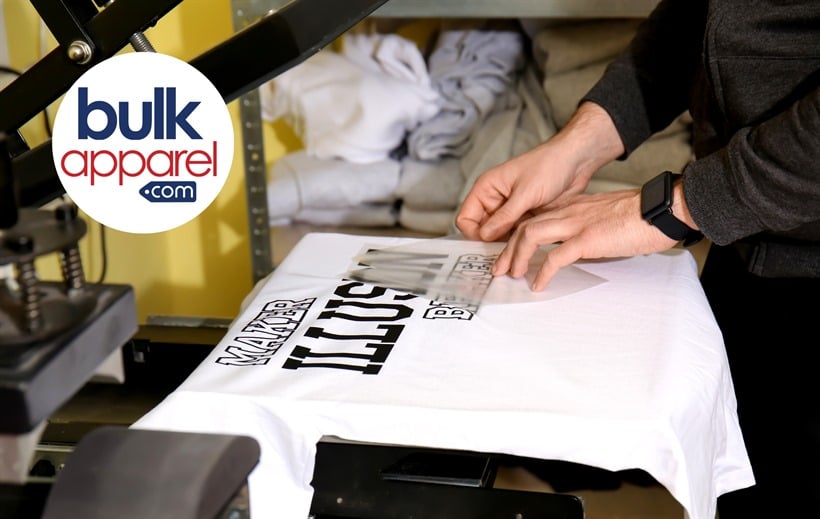

So exactly how do you print on t-shirts with foil? Custom apparel foil printing is a premium method for designing attention-grabbing tees with a little glitz and glam. A little or a lot (up to you) of metallic shine is just what your t-shirt brand needs. Basically the foil transfer is printed on the blank t-shirt using combined heat and pressure. Custom foil transfers come in a wide variety of colors and designs and even work great with traditional screen prints. Because who doesn’t love perfectly placed shimmery accents on a custom screen printed tee! Foil printing can be done on any weight of shirt and any color which means designing the ultimate t-shirt is also super convenient. So now that we’ve covered the basics of what custom foil printing is, let’s move on to how to apply the foil transfer to apparel.
FOIL T-SHIRTS: How do you print on t-shirts with foil?
Foil Application:
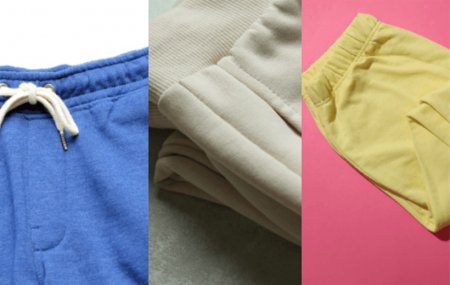
First you will want to screen print a layer of adhesive onto your wholesale shirt. Next you need to cure (heated to solidify the liquid) the adhesive in order to get that strong tacky grip. Then finally you apply the foil to the garment with heat and pressure. For the best results pick a blank hoodie or shirt that’s 100% cotton and made using direct/reactive dye. Some of my favorite 100% cotton reactive-dyed tops are the Tultex 202 Unisex Fine Jersey T-Shirt and the Tultex 320 Unisex Fleece Hooded Sweatshirt. Reactive-dyes are great for providing longer lasting color.

Designing Images
If you are a crafty or artsy person, creating your own graphic will be a fun enjoyable part of the process. But I imagine it can be quite daunting for those who don’t have an artistic bone in their body. No need to worry, this is where graphics software comes in or even sites like Fiverr to commission artwork. You will want your custom graphic to be separated by color and to print each color on its own clear positive film. This also includes the foil part of the design. The foil will be the last layer(top layer) of your design, applied only after all other ink is applied and cured.

Making The Screen
You will need to buy or make your own stencils which are also called screens for each color. And also for the foil of course. Don’t forget to use a fine thread mesh with high tension for your foil screen.
Here’s a great how to video from MARKET on how to make a screen for screen printing.

Apply The Adhesive
Start off with your foil screen and put it in your screen printer. It is important to get a thick but very even spread of adhesive on your blank shirt. I recommend using a soft squeegee and slow movement to get a smooth film. Not always necessary, but sometimes it works well to print the adhesive, then flash cure it, then print again. The reason for this is to help the adhesive join with the fibers of your t-shirt and be slightly raised above the shirt. Not enough adhesive will cause the foil not to stick and too much will cause uneven edges from the glue seeping out the sides. The perfect spread of glue should look very smooth and a little glass-like. Since plastisol inks adhere to foil you will want to use water-based inks or mix your plastisol ink with a “foil resist” additive. This being for the non-foil parts of your tshirt print.
Pro Tip: Keep your foil t-shirt looking great longer by printing a layer of gray ink under silver foil and a layer of gold/yellow ink under gold foil. So if any of the foil starts peeling off after a few washes it won’t be incredibly noticeable.
Heat Press The Foil
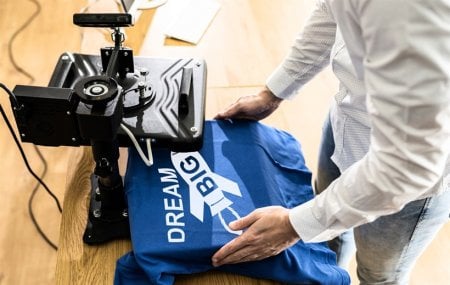
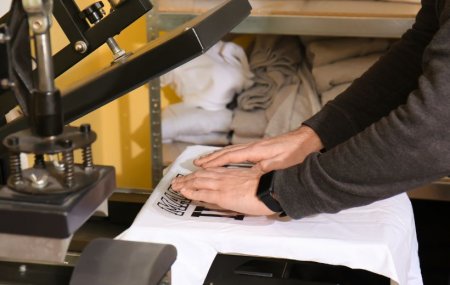
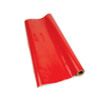
Lastly we need to heat press your foil transfer. Follow the directions from the ink and foil transfer manufacturers for the temperature and heat times. These can be different and specific per brand. Especially if you use your heat press often, just double check that your plate is super clean, your rubber pad looks good, and your press is applying even pressure across.
Place your blank apparel garment in your heat press, put the foil sheet on top of the printed adhesive, and then of course press and heat.
Pro Tip: Always a good idea to do a few test prints to make sure the foil is printing smoothly and perfectly.
Here’s a video from Ryonet to show the process is easier than it sounds.
Laundry Instructions
Foil printed tees need gentle love and care. Foil transfers can easily start to peel or flake off after even just a few washes. But if you make sure your print is high-quality and you are gentle with your foil shirt, then yours should last quite awhile.
Always turn your foil printed apparel inside out before washing. Use delicate or hand wash cycle and hang to dry. And NEVER use an iron on your foil print.
Foil transfers can create some really awesome artwork and custom t-shirts, especially around the holidays. If you loved this “How do you print on t-shirts with foil?” blog, don’t forget to check out our other how to blogs like Tie Dye in 3 Easy Steps.


