DIY TIE DYE in 3 EASY Steps
Laken April 6, 2021 0Stop buying tie-dye and start making your own! BulkApparel DIY Tie Dye in 3 Easy Steps how to guide makes tie-dye hoodies, shirts, and sweatpants easy!
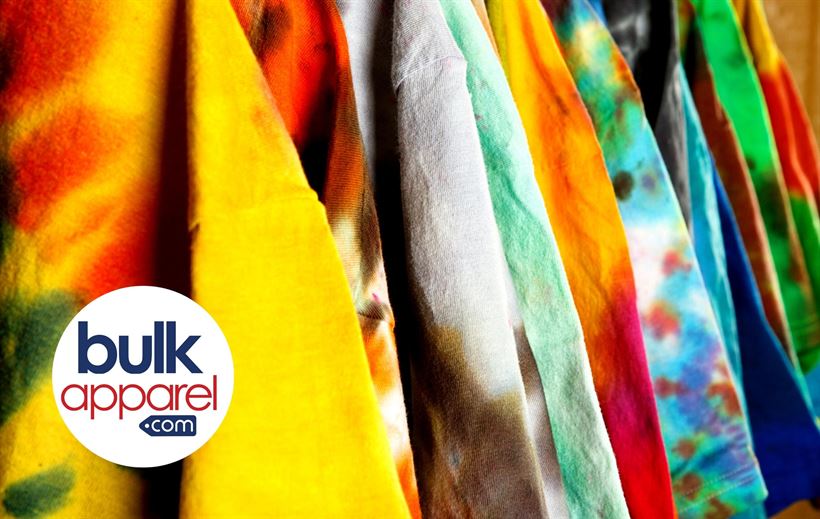

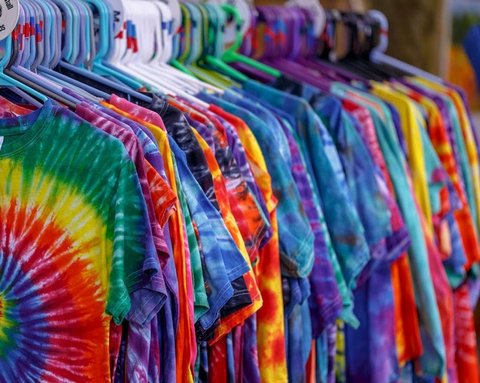
It’s always so much fun learning a new hobby especially with that feeling of accomplishment for completing a challenge. Deciding to create something all on your own is great and everyone should try to do so, if given the opportunity. One activity I highly recommend that everyone should try is DIY Tie Dye. Tie Dye is a hand method of producing patterns in textiles by typing portions of the fabric so that they will not absorb the dye. This is a great activity because it not only allows you to get creative but no matter what, every piece is unique. Why not take this time to learn how to create your own unique articles of clothing with our BulkApparel How to Tie Dye Guide. Turn a basic t-shirt, blank hoodie, or bulk sweats into something far more. DIY Tie Dye in 3 Easy Steps!
Getting Started:
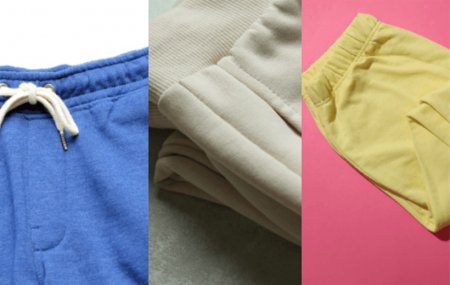
The first step that should be taken is to select the item that you would like to customize. This does not have to specifically be a white t-shirt though. You can choose to dye any basic hoodie, joggers, or even your socks. The possibilities are endless here. If you are crafting with your kids or looking to start your own custom tie-dye clothing line, you might want to select an option that is comfortable but inexpensive. I recommend trying the wholesale Gildan shirts or wholesale Hanes hoodies. So pick what you want to create as your own and we can get started.
Once you have chosen the colors you would like to customize your blank apparel with, you should add them to warm water. But if you choose to use a dye kit you should wet the article of clothing so that it can soak up the dye. Choose any colors you want as there is no right or wrong way to create the perfect unique DIY tie-dye.
Create Your Pattern and Get Messy:
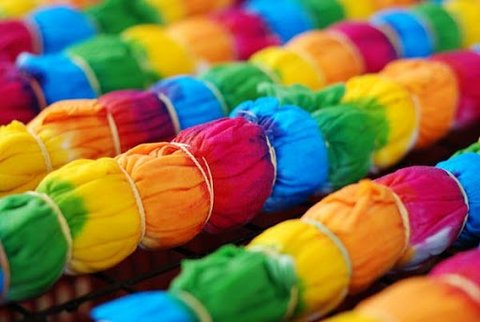
Creating your pattern is where the process of tie dye becomes the most fun. To create your pattern, you can fold them together, or tie them together with a rubber band. Different shapes and patterns can be made, depending on how you fold your item. The most popular pattern is the spiral but if you want to go outside of the box you can try other techniques like shibori, sunburst, spider, and bullseye. Here’s a short video tutorial from Crafty Caboodle demonstrating 5 more different shirt designs.
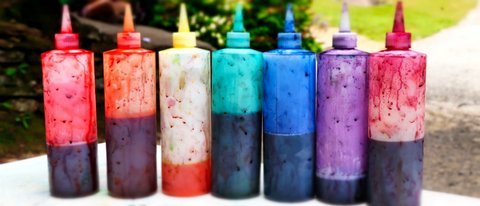
This is where you get to have all of the fun. Make sure that your area is ready and prepped, and grab your gloves and prepare your dyes and get them on your garments. It is recommended to have your dyes in a squirt bottle and squirt the dye on your preferred garments. This makes you feel like a kid again, so have fun and be just as carefree as you’d like to be.
Wrap and Rinse:
Now that your design is complete, you can sit back and relax. It is recommended that you let your garments sit in saran wrap. The allotted time varies depending on who you ask, some let their items sit for 6-8 hours while others recommend up to 24 hours. However, the amount of time is up to you. The saran wrap is essential as it will help you maintain moisture with your items.
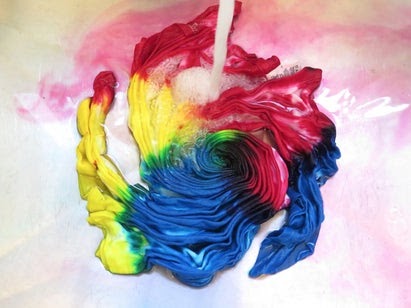
These are the final steps so once you have let your items sit it’s then time to rinse them out with cold water. You want to make sure that the water runs completely clear to alert that you are done rinsing your garments. Lastly, throw your item in the washing machine, alone and on cold. This final step helps to ensure that no excess dye bleeds into your design.
And just as like that in three easy steps you have completed a completely unique piece of fashion. The creative possibilities are endless and all kinds of tie-dye are currently killing the fashion game. Our DIY Tie Dye in 3 Easy Steps saves you time to create even more awesome designs!


