Easy DIY HTV Shirts
Easy how to guide for creating DIY HTV shirts.
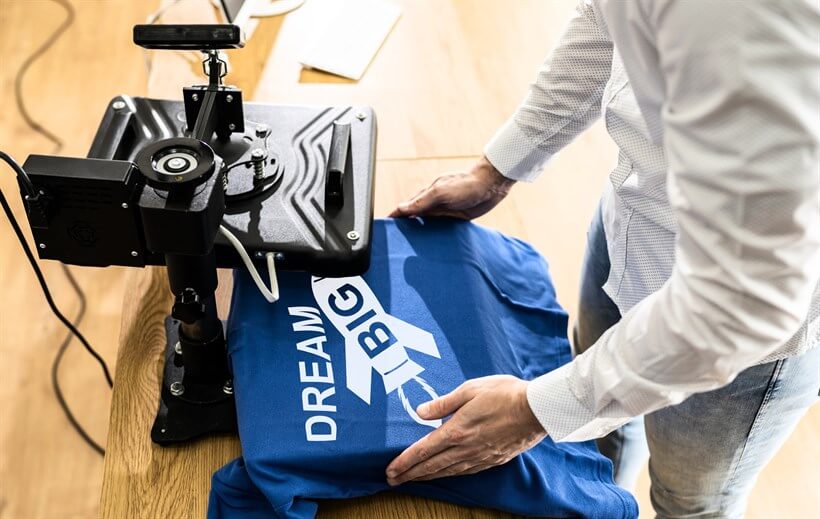
Creating custom easy DIY htv shirts using heat transfers is not just a fun DIY project but also a great way to dive into the world of personalized and custom apparel. This guide is designed to take you through each step of the process in detail, ensuring you have all the information you need to create high-quality, custom printed shirts. Whether you’re crafting DIY shirts for an event, as gifts, or for your apparel business, this comprehensive guide will help you achieve the best results.
Introduction to Heat Transfer Vinyl (HTV)
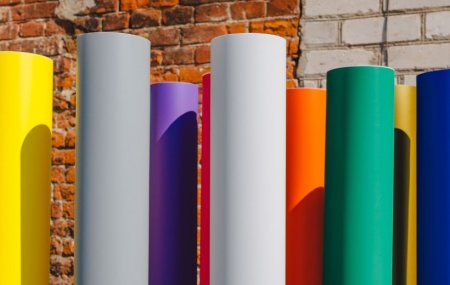
Heat Transfer Vinyl, or HTV, is a specialized vinyl that can be cut, weeded, and heat-pressed onto fabric and other materials to create custom designs. It’s a favorite among crafters and DIY enthusiasts because of its versatility, ease of use, and the professional-quality results it can produce. HTV comes in a variety of colors, finishes (such as matte, glossy, glitter, and metallic), and types (such as stretchable vinyl for athletic wear), making it a flexible choice for a wide range of projects.
Step 1: Planning Your Design
The first step in creating your easy DIY HTV shirts is to plan your design. This involves choosing the graphics, text, and overall layout that you want to appear on your blank shirts. When planning your design, consider the following:
- Theme: Decide on a theme that reflects your brand or event. This could include business logos, creative artwork and imagery, or catchy slogans.
- Colors: Select colors that represent your business or that work well together on your chosen basic tee color. Keep in mind the color contrast between the HTV and the wholesale shirt to ensure your design stands out.
- Size and Placement: Consider the size of your design in relation to the shirt size and where on the blank t-shirt you want the design to be placed. Common placements include the center front, left chest, back, or sleeves.
Step 2: Creating Your Design
Once you have a clear idea of what your design will entail, it’s time to bring it to life using graphic design software. Programs like Adobe Illustrator, CorelDRAW, or the software provided with your cutting machine (such as Cricut Design Space or Silhouette Studio) are excellent for creating and fine-tuning your designs. If you’re not confident in your design skills, you can also find pre-made designs online or use templates provided in cutting machine software.
Step 3: Preparing Your Materials
With your design ready, gather all the materials and tools you’ll need:
- Quality Blank T-Shirts: Choose shirts that offer a smooth, flat surface for the best heat transfer application. Materials like 100% cotton or cotton blends tend to work well with HTV.
- HTV Selection: Based on your design, select the appropriate colors and finishes of HTV. Remember, the vinyl should be placed shiny side down when cutting.
- Cutting Machine: Ensure your machine is ready, with a clean, sticky cutting mat and a sharp blade to handle the intricacies of your design.
- Weeding Tools: Have a set of weeding tools on hand. These may include tweezers, weeding hooks, and scissors for intricate designs.
- Heat Press or Iron: If using a heat press, ensure it’s in good working condition. If using an iron, make sure it’s clean and can reach the required temperature for HTV application.
Top Wholesale Blank T-Shirt Picks For HTV:
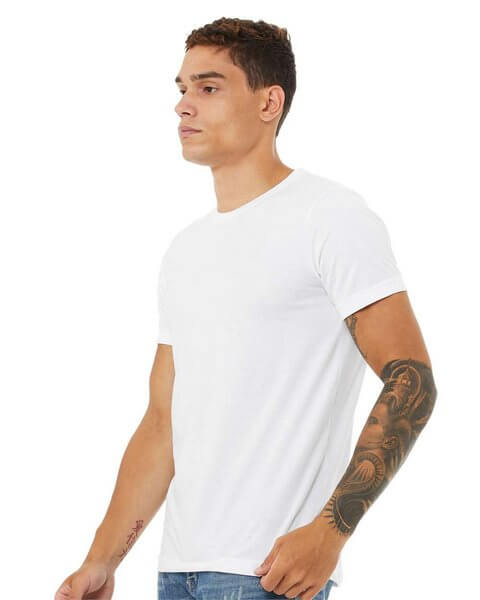
Bella + Canvas 3001CVC Unisex Short Sleeve Heather Jersey Tee
The Bella + Canvas 3001CVC Unisex Short Sleeve Heather Jersey Tee is an exceptional choice for those looking to create custom apparel using heat transfer vinyl (HTV). This Bella+Canvas tee is made from a high-quality blend of airlume combed and ringspun cotton and polyester, which provides a smooth, even surface that’s ideal for HTV application. The fabric’s tight weave ensures that the vinyl adheres properly and remains durable through numerous washes. Additionally, the tee’s heathered appearance offers a fashionable, textured look that enhances the visual appeal of the applied designs. Its unisex fit caters to a wide range of body types, making it a versatile option for various projects or retail. Overall, the Bella + Canvas 3001CVC tee combines style, comfort, and practicality, making it a go-to choice for professionals and hobbyists alike in the realm of custom apparel creation. The 3001 CVC heather tee is a perfect choice for easy diy htv shirts.
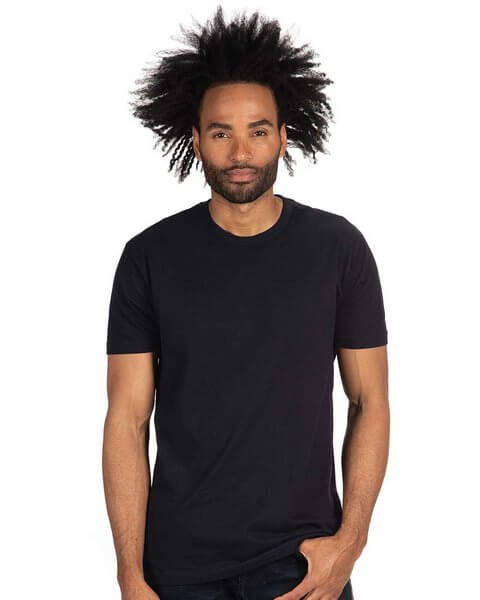
Next Level 3600 T Shirt Premium Short Sleeve Crew
The Next Level 3600 T-Shirt Premium Short Sleeve Crew is a top-notch choice for anyone looking to utilize heat transfer vinyl for creating custom apparel. This Next Level Apparel t-shirt is crafted from 100% combed ring-spun cotton (with the exception of heather colors, which contain polyester), providing a soft, smooth surface that is ideal for the application of heat transfer vinyl. What is combed ringspun cotton? The fine weave of the fabric ensures that the vinyl adheres strongly and evenly, reducing the risk of peeling or cracking over time, even after multiple washes. The premium quality of the material not only enhances the longevity of the vinyl designs but also offers superior comfort and fit for the wearer. With its durable construction and a slight stretch, the Next Level 3600 ensures that your designs look crisp, vibrant, and professional, making it a favored choice for businesses and DIY enthusiasts aiming for high-quality custom apparel.
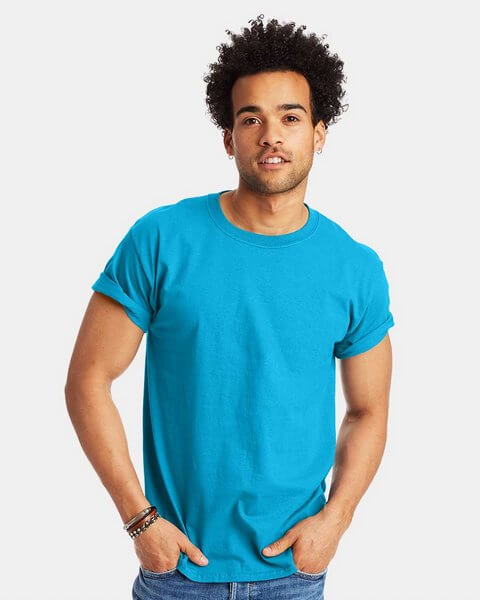
Hanes 5250 Authentic Short Sleeve T-Shirt
The Hanes 5250 Authentic Short Sleeve T-Shirt stands out as a superb choice for applying heat transfer vinyl, thanks to its blend of comfort, durability, and printability. This Hanes t-shirt is made from 100% pre-shrunk cotton, ensuring that the size and fit remain consistent through washes, providing a reliable canvas for heat transfer vinyl applications. The fabric’s tight knit offers a smooth, flat surface that allows for precise vinyl adhesion, ensuring that designs adhere cleanly and last longer, even after repeated washings. The Hanes 5250 is also known for its durability, featuring a lay-flat collar that retains its shape and a construction that withstands the rigors of daily wear and repeated laundering. This makes it an ideal choice for businesses or individuals seeking a high-quality garment that showcases their custom vinyl designs effectively and maintains its good looks over time.
Step 4: Cutting and Weeding Your Design
- Cutting: Load your HTV onto the cutting mat and into your machine, ensuring it’s aligned properly. Use the software to send your design to the cutter, adjusting settings such as pressure and blade depth according to the manufacturer’s recommendations for your specific HTV.
- Weeding: Once cut, gently peel away the excess vinyl, revealing your design still attached to the clear carrier sheet. Use your weeding tools to remove smaller pieces within the design, taking care not to damage the vinyl.
Step 5: Applying Your Design
- Pre-Pressing: Pre-heat your shirt to remove moisture and wrinkles, providing a smooth surface for the HTV. Position your weeded design on the shirt, using a ruler or measuring tape to ensure it’s centered and straight.
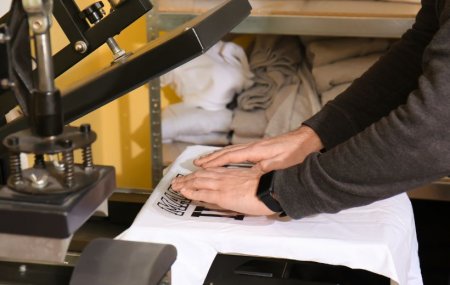
- Heat Application: If using a heat press, set it to the HTV manufacturer’s recommended temperature and pressure settings. Press the design onto the shirt for the specified time. If using an iron, apply firm pressure and move it slowly over the design, ensuring all areas receive adequate heat.
- Cooling and Peeling: Allow the design to cool slightly before gently peeling off the carrier sheet. Some HTVs require a hot peel (immediately after pressing), while others require a cold peel (once completely cool).
Step 6: Caring for Your Custom Shirt
To ensure the longevity of your custom t-shirt, follow these care instructions:
- Washing: Wait at least 24 hours before washing the htv shirt for the first time. Wash inside out in cold water, using a gentle cycle, and avoid bleach and fabric softeners.
- Drying: Tumble dry on low or hang to dry. Avoid direct heat on the vinyl design when ironing.
Troubleshooting Tips
Even with careful preparation, you may encounter issues. Here are some tips for common problems:
- Vinyl Not Adhering: Ensure your heat source is at the correct temperature and that you’re applying adequate pressure. Double-check that the HTV was placed shiny side down during cutting.
- Design Peeling After Washing: This could be due to insufficient heat or pressure during application, or not waiting long enough before the first wash. Re-press the design with a heat press or iron, following the HTV’s application guidelines closely.
Creating custom easy DIY HTV shirts is a rewarding project that allows you to wear your creativity literally on your sleeve. By following these detailed steps, you can achieve professional-looking results from the comfort of your home. Remember, practice makes perfect, and each shirt you create will hone your skills further. Enjoy the process, experiment with different designs and HTV finishes, and most importantly, have fun showing off your custom creations! Create, Inspire, Repeat.
Craft your vision, unleash your DIY imagination!


