DIY TIE DYE in 3 EASY Steps
Stop buying tie-dye and start making your own! BulkApparel DIY Tie Dye in 3 Easy Steps how to guide makes tie-dye hoodies, shirts, and sweatpants easy!
Summary:
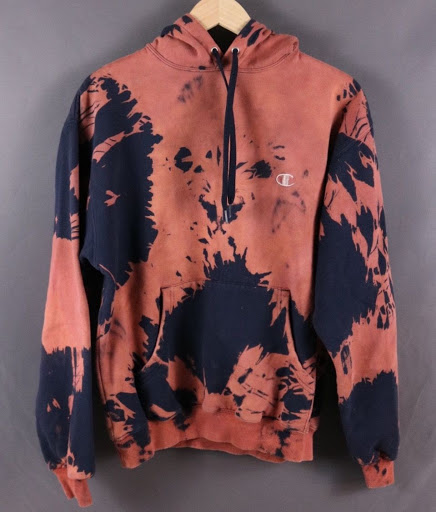
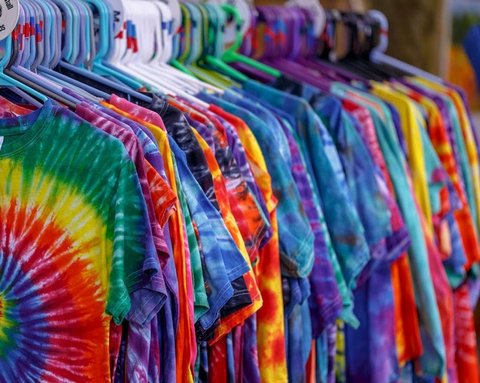
– Cotton t-shirts absorb dye effectively and produce vibrant tie dye patterns.
– Proper curing and rinsing help set colors and reduce bleeding.
– Simple folding methods enable beginners to create consistent spiral and crumple designs.


FAQ
What materials do I need for a DIY tie dye project?
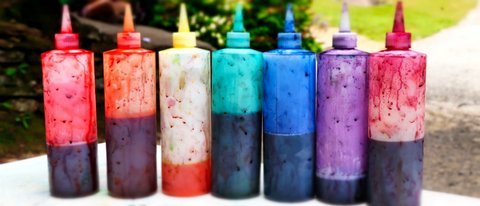
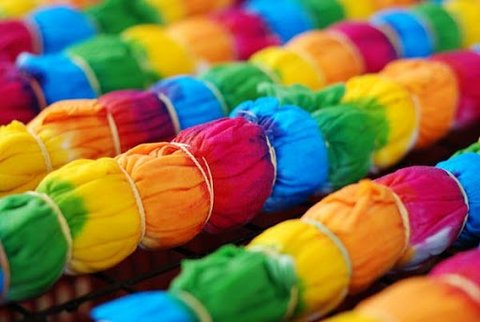
You need a blank cotton shirt, fabric dye, rubber bands, squeeze bottles, plastic gloves, and a protective surface covering. Using 100 percent cotton garments helps ensure better dye absorption and more vibrant results.
How long should I let tie dye sit before rinsing?
Tie dye should typically sit for several hours to allow the dye to bond with the fabric. Many projects recommend letting the shirt cure in a sealed plastic bag for six to eight hours or overnight.
What are the basic steps to tie dye a shirt?
The basic steps to tie dye a shirt include preparing the fabric, applying dye, and setting the color. Cotton t-shirts are typically dampened, twisted or folded into patterns, secured with rubber bands, and then saturated with dye before curing and rinsing.
What are popular tie dye patterns for t-shirts?
Popular tie dye patterns include spirals, bullseye designs, stripes, and random crumple effects. These styles are created by folding or twisting the shirt in specific ways before applying multiple dye colors.
How do I prevent tie dye colors from bleeding?
You can reduce color bleeding by allowing adequate curing time and rinsing garments in cold water until excess dye is removed. Washing dyed shirts separately during the first few cycles also helps preserve color clarity.