
How to Apply DTF Transfers Without Missing Important Steps
Applying a custom DTF transfer may seem simple, but achieving a clean, durable, and professional result requires more than placing a design on a blank shirt and pressing a button. Every stage matters, from preparing the garment to peeling the transfer at the right time. Missing even one small detail can affect how well the design adheres, how long it lasts, and how it looks after repeated washing. Many people purchase DTF transfers because they are convenient and ready for application, yet the transfer itself is only one part of the process. Proper preparation, the right equipment, and following the recommended instructions all contribute to a successful finished product. Whether you are decorating one wholesale shirt for personal use or producing bulk apparel for customers, understanding each step helps reduce mistakes while improving consistency.
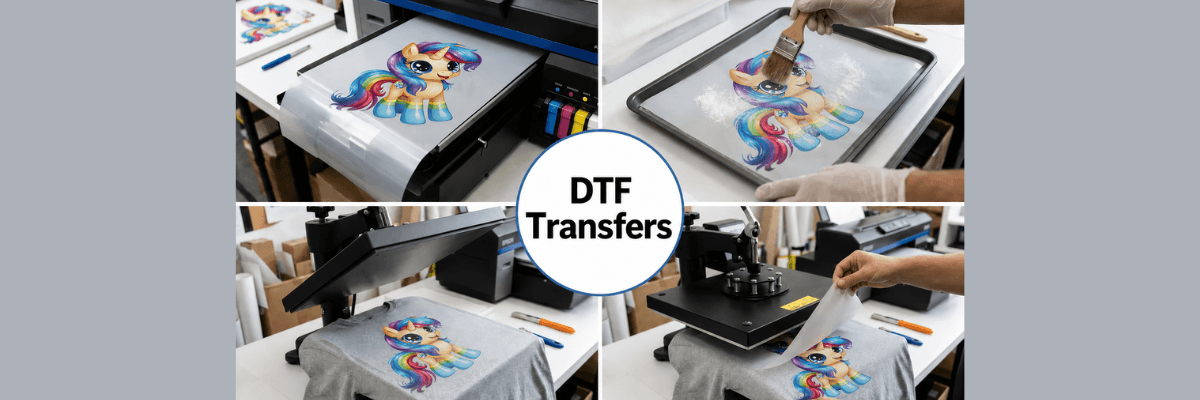
Applying a custom DTF transfer may seem simple, but achieving a clean, durable, and professional result requires more than placing a design on a blank shirt and pressing a button. Every stage matters, from preparing the garment to peeling the transfer at the right time. Missing even one small detail can affect how well the design adheres, how long it lasts, and how it looks after repeated washing. Many people purchase DTF transfers because they are convenient and ready for application, yet the transfer itself is only one part of the process. Proper preparation, the right equipment, and following the recommended instructions all contribute to a successful finished product. Whether you are decorating one wholesale shirt for personal use or producing bulk apparel for customers, understanding each step helps reduce mistakes while improving consistency.
This how to apply DTF transfers guide walks through the complete application process in a practical and beginner friendly way. Instead of guessing temperatures, experimenting with pressure, or wondering whether different tools will work, you will learn the proper approach to applying transfers with confidence. By following each step carefully, you can create apparel that looks professional and stands up to everyday wear.
How DTF Transfer Application Works Before You Begin
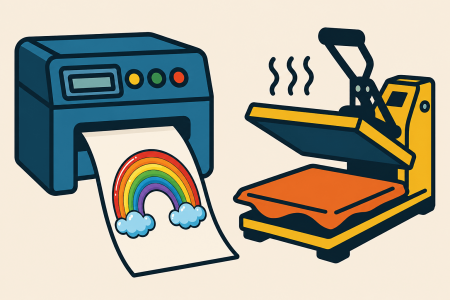
Before applying DTF transfers, it helps to understand how it works. Unlike decoration methods that print directly onto a garment, DTF printing produces the artwork on a specialized transfer film first. The finished transfer is then bonded to the fabric using heat, pressure, and the correct application technique. Because the DTF transfers have already been professionally printed, your responsibility is to apply it correctly so the design adheres securely to the garment.
Preparation begins with selecting a suitable workspace. A stable, heat resistant surface helps ensure even pressure during application. If you are using a professional heat press, verify that it has reached the recommended temperature before starting. If you plan to use a Cricut Easy Press, allow it enough time to heat evenly and place the garment on a firm pressing mat rather than a soft ironing board, which can reduce consistent pressure.
Next, inspect the garment itself. Smooth out wrinkles and remove any lint or debris that could interfere with the transfer. Most decorators recommend pre pressing the garment for a few seconds to eliminate moisture and create a flat surface before positioning the design. This simple preparation step often improves adhesion while helping the transfer sit evenly on the fabric.
Placement is equally important. Take time to align the transfer before applying heat because repositioning it afterward is not possible. For left chest graphics, center the design carefully between the collar and sleeve. Larger graphics should also be measured and aligned to maintain a balanced appearance across the garment.
Understanding your transfer’s application instructions is another important part of preparation. Different manufacturers may recommend different DTF transfer settings, temperature time, pressure levels, and peel methods. Some transfers are designed for a hot peel, while others require a warm or cold peel. Following the specific instructions provided with your transfer helps achieve the best possible results while avoiding unnecessary application problems.
Equipment also plays a significant role in the final outcome. Many decorators consider a quality heat press the best heat press for DTF transfers because it delivers even temperature and consistent pressure across the entire design. Consistency is especially important when applying larger graphics that require full contact with the garment. Although smaller projects may be completed using other equipment, maintaining even pressure remains one of the biggest factors in achieving a durable transfer.
Preparing carefully before pressing takes only a few extra minutes, yet it can prevent many of the most common application mistakes. Once your garment, equipment, and transfer are ready, you can move confidently into the actual application process knowing that every step has been set up for success.
Step by Step DTF Transfer Application Guide
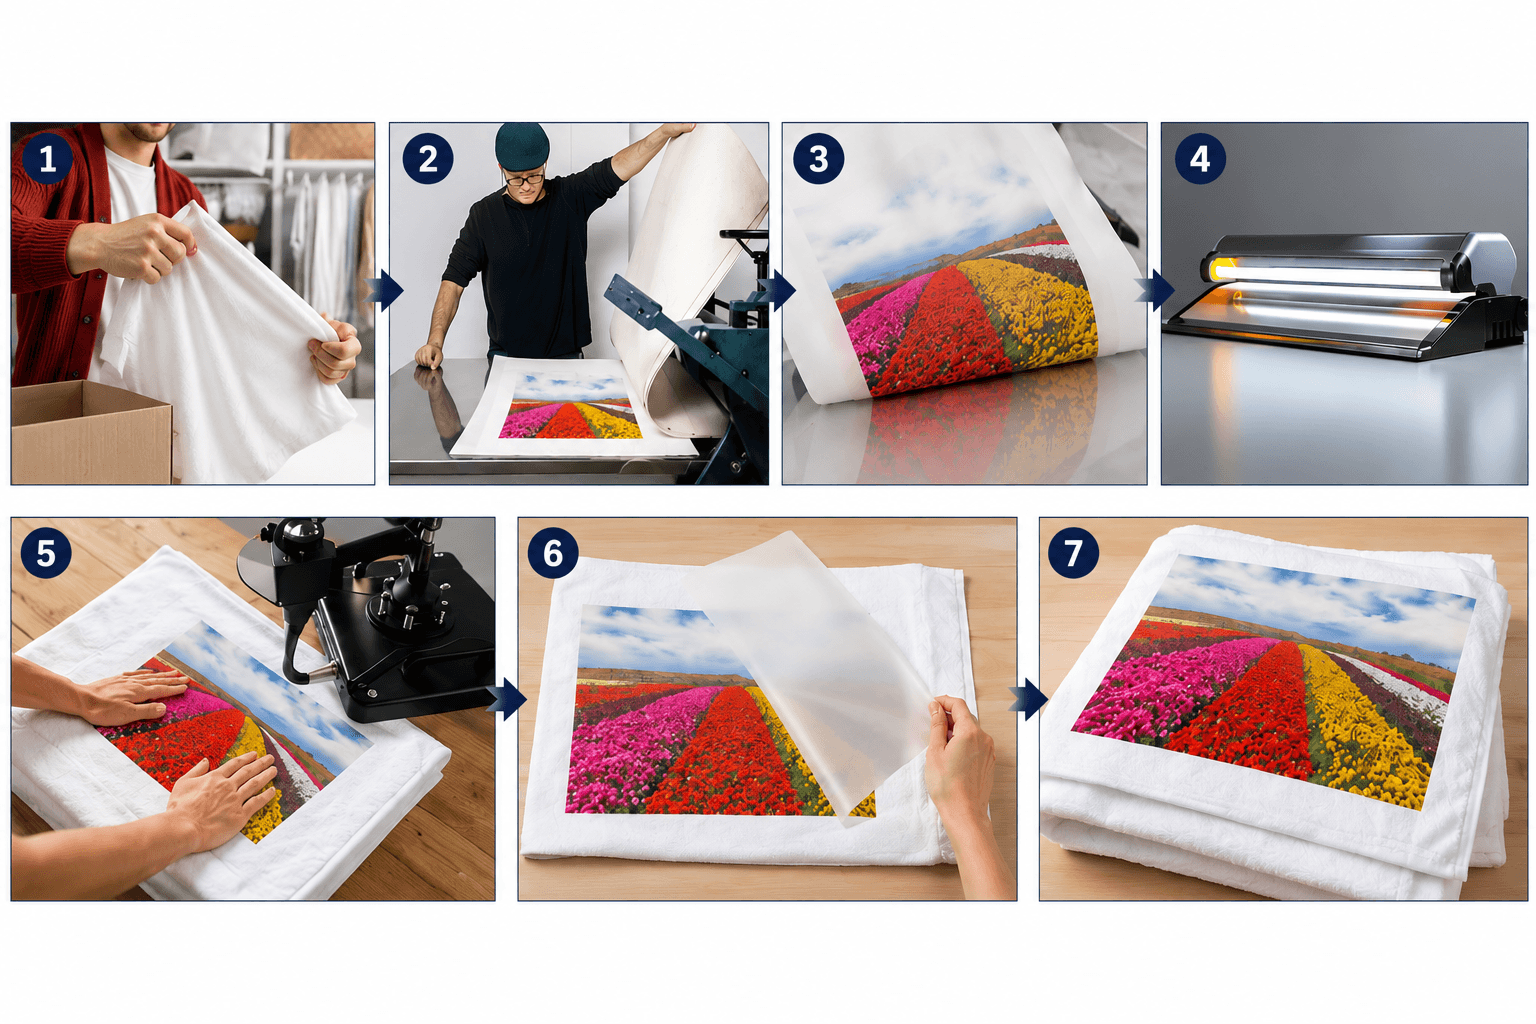 Once your workspace is ready, it is time to apply the transfer. While every manufacturer may recommend slightly different application settings, the overall process remains the same. Following each step carefully helps create a durable bond between the transfer and the garment while reducing the chances of peeling, lifting, or uneven adhesion.
- Prepare the garment.
Place the garment on a flat pressing surface and smooth out any wrinkles. If needed, remove lint using a lint roller. A quick pre press of a few seconds helps eliminate moisture and creates a smooth surface for the transfer to adhere to. - Position the DTF transfer.
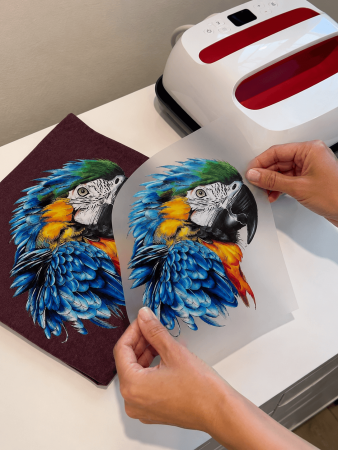
Lay the transfer on the garment with the printed side facing the fabric. Before applying heat, double check that the design is centered and straight. Measuring from the collar or using alignment guides can help achieve consistent placement, especially when producing multiple garments. - Set the correct temperature and time.
One of the most common mistakes is using incorrect settings. Always follow the manufacturer’s recommended DTF transfer settings temperature time instead of guessing. Different transfer films and adhesive formulations may require different temperatures, pressing times, or pressure levels. Following the supplied instructions helps produce the best possible results. - Apply firm and even pressure.
Close the heat press completely and allow it to remain closed for the full recommended time. Avoid opening the press early or applying uneven pressure, as both can prevent the adhesive from bonding properly. Consistent pressure across the entire design is just as important as reaching the correct temperature. - Peel the carrier film correctly.
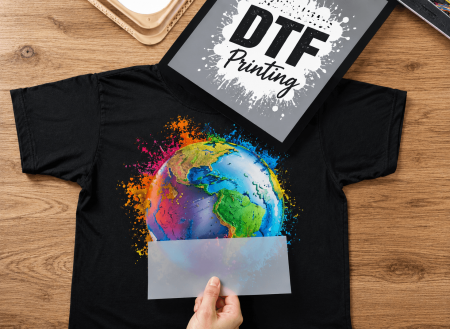
Once pressing is complete, follow the recommended peel method. Some transfers require a hot peel, while others are designed for a warm or cold peel. Peeling too early or waiting too long can affect the finished appearance, so always refer to the transfer instructions before removing the film. - Perform a final press if recommended.
Many manufacturers recommend covering the finished design with parchment paper or another protective sheet before pressing it again for a few seconds. This optional finishing press can improve adhesion while creating a smoother surface and a more polished appearance.
Many beginners also ask whether a professional press is absolutely necessary. A commercial heat press generally delivers the most consistent results because it provides even heat and pressure across the entire design. Here is a DTF heat press guide. For smaller projects, a Cricut Easy Press can also produce good results when used according to the manufacturer’s instructions and paired with a proper pressing mat.
Another common question is can you iron on DTF transfers using a household iron. While some transfers may adhere with an iron under certain conditions, household irons typically cannot provide consistent temperature or pressure across the entire design. Because of these limitations, they are usually considered a temporary alternative rather than the preferred method for long lasting results.
You may also wonder about DTF transfer without heat press applications. Although alternative methods exist, they often produce inconsistent adhesion and may reduce durability. For reliable, repeatable results, using equipment designed for heat transfer applications remains the recommended approach.
Finally, remember that DTF transfers for shirts are only one of many possible applications. The same process can also be used on compatible bulk hoodies, wholesale sweatshirts, blank tote bags, and other fabric products, provided the transfer manufacturer lists them as suitable materials. Taking your time throughout each step will always produce better results than rushing the application, especially when working on custom apparel that represents your brand or business.
Better Results Through Proper DTF Transfer Care
Applying DTF transfers correctly is only part of the process. Keeping the finished design looking its best also depends on proper handling after application. Even a professionally applied transfer can lose its appearance sooner than expected if the garment is washed, dried, or stored improperly. Following a few simple practices helps protect the design while extending the life of the apparel.
Allow the garment to cool completely before folding, wearing, or packaging it. This gives the adhesive additional time to stabilize after the final press. Rushing to fold or stack freshly decorated garments may place unnecessary stress on the transfer before it has fully settled.
Proper garment care also plays an important role in maintaining the finished design. Turning garments inside out before washing helps reduce friction against the printed surface during the wash cycle. Using cold or warm water with a mild detergent is generally recommended, while bleach and harsh cleaning products should be avoided because they may affect both the garment and the transfer over time. When drying, low heat or air drying often helps preserve the appearance of the design for a longer period.
Storage matters as well. Keep unused transfers in a cool, dry environment away from direct sunlight and excessive humidity. Storing them flat and protecting them from dust or bending helps maintain their quality until they are ready for application. Good storage practices make it easier to achieve consistent results, especially for businesses preparing future apparel orders.
If a transfer does not adhere properly, avoid assuming the transfer itself is defective. Most application problems can often be traced to incorrect temperature, insufficient pressure, uneven pressing, or peeling the carrier film at the wrong stage. Reviewing the application instructions and confirming that your equipment is operating correctly can often resolve these issues before trying another transfer.
As you continue applying transfers, experience naturally improves consistency. Taking time to prepare the garment, following the recommended application instructions, and avoiding shortcuts all contribute to cleaner results and greater confidence with every project. Whether you are decorating apparel for yourself, creating branded merchandise, or fulfilling customer orders, careful application helps every finished garment look more polished and professional.
When you are ready to order professionally produced DTF transfers, BulkApparel offers high quality transfers that arrive ready for application using your own equipment. By combining professionally printed transfers with proper application techniques, you can produce apparel that reflects the attention to detail behind every project.
What Is DTF Printing? The New Wave Of T-Shirt Design